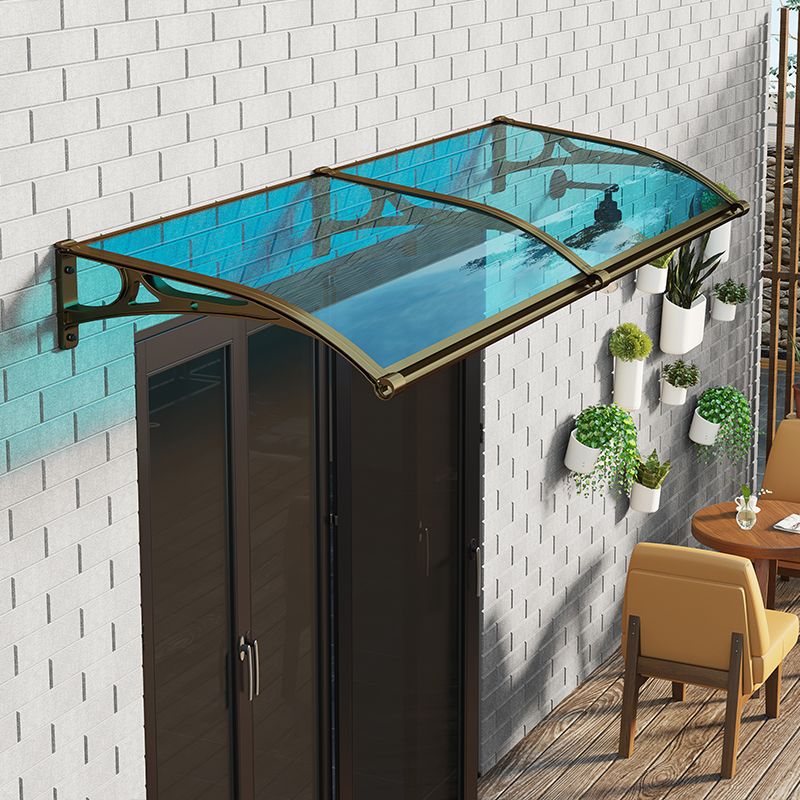
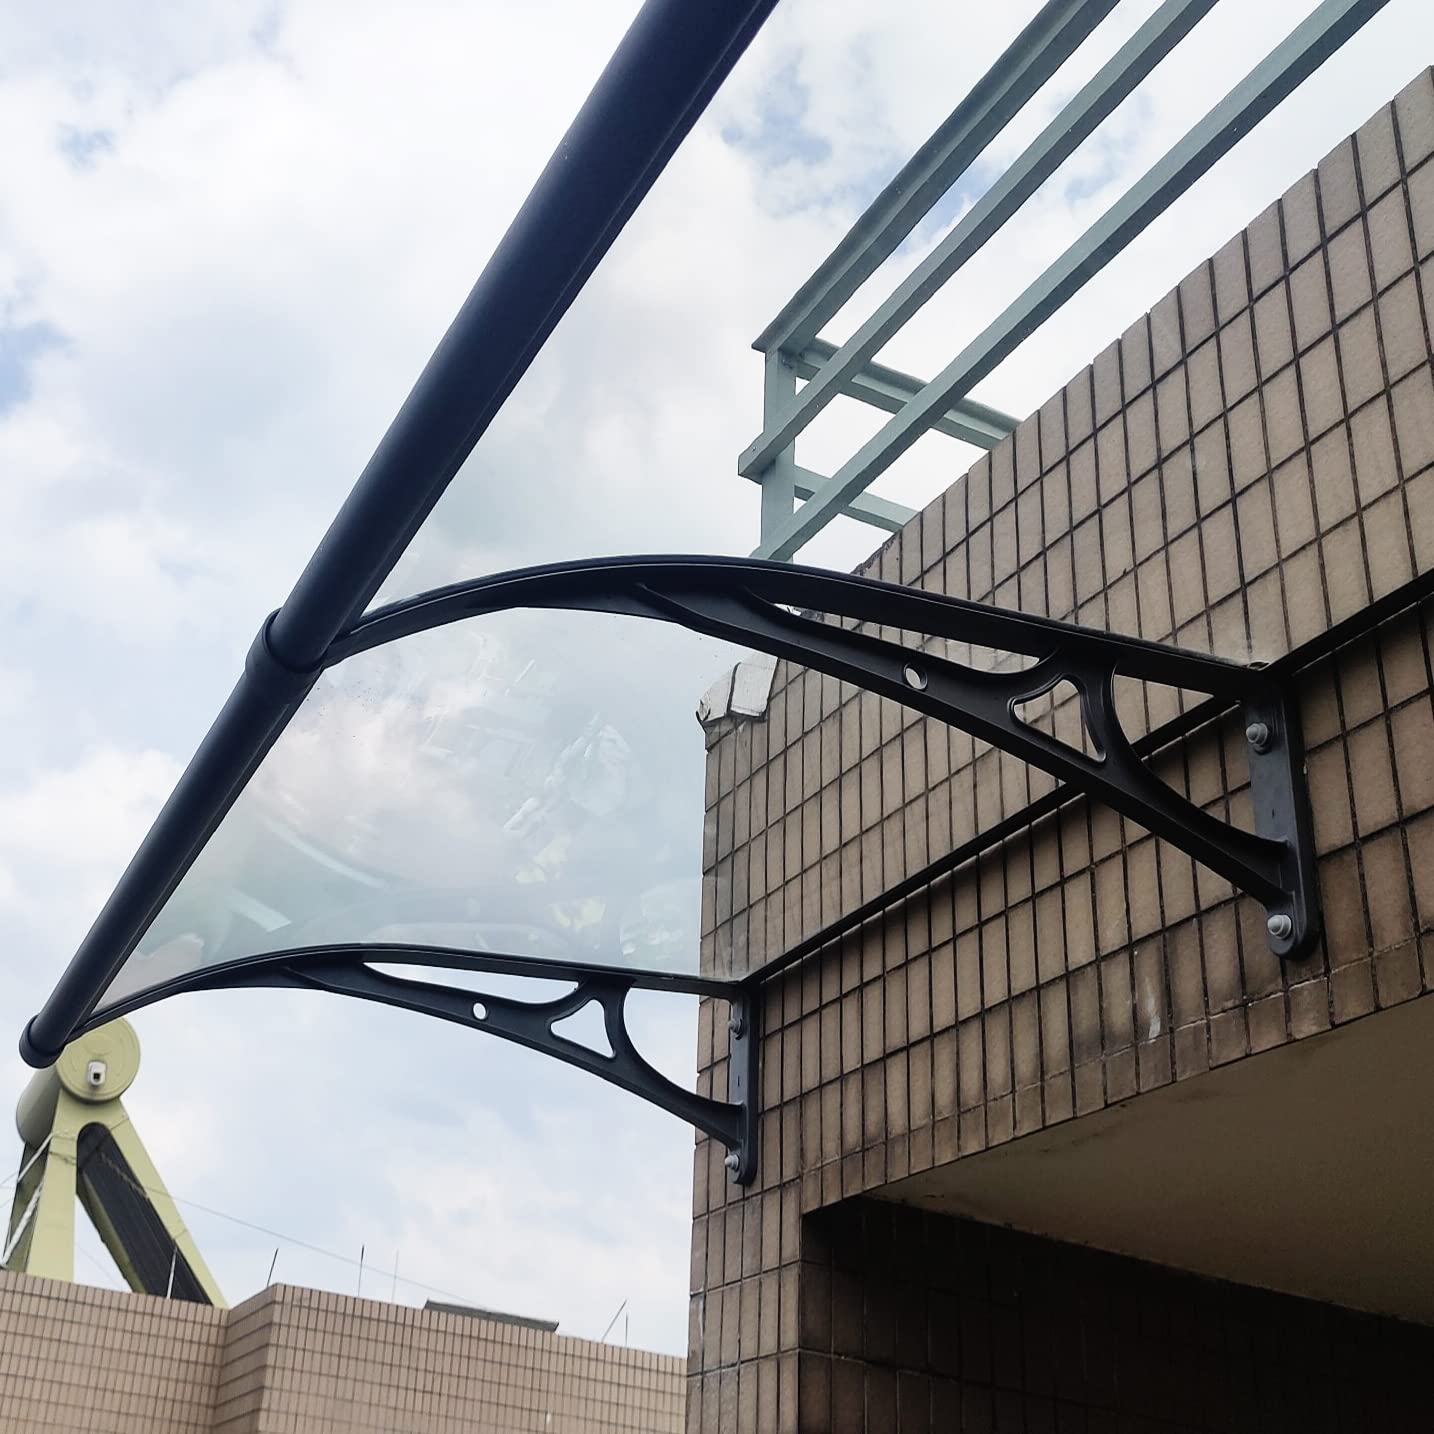
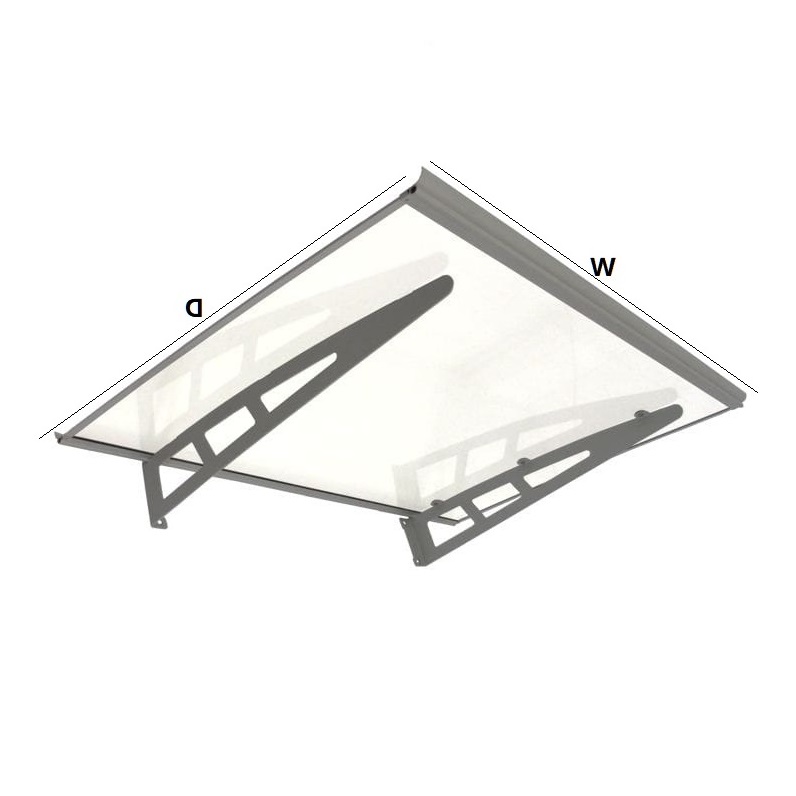
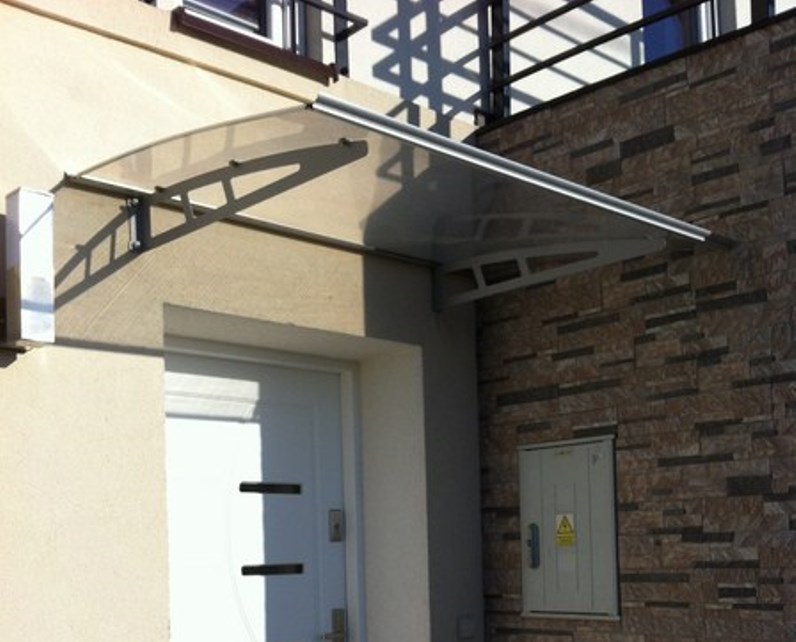
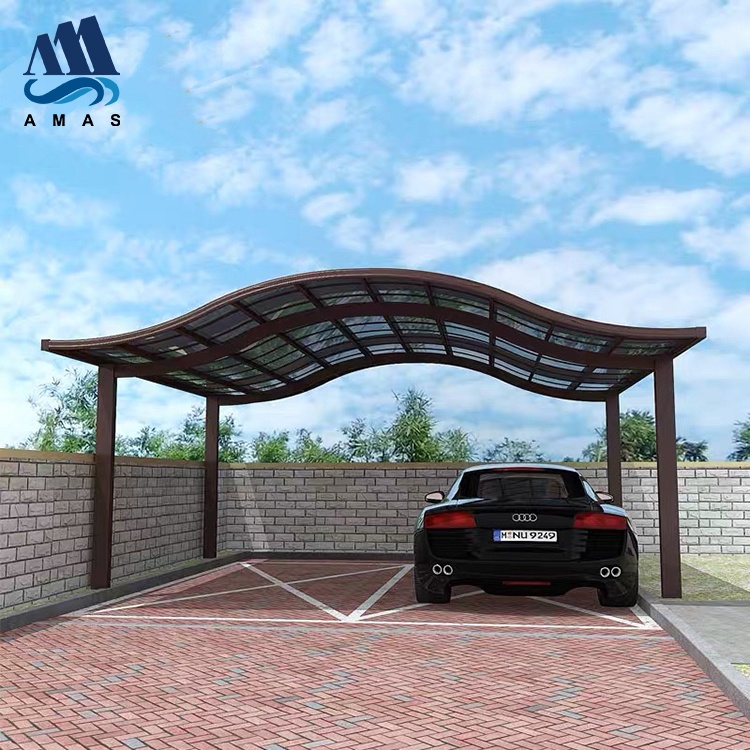
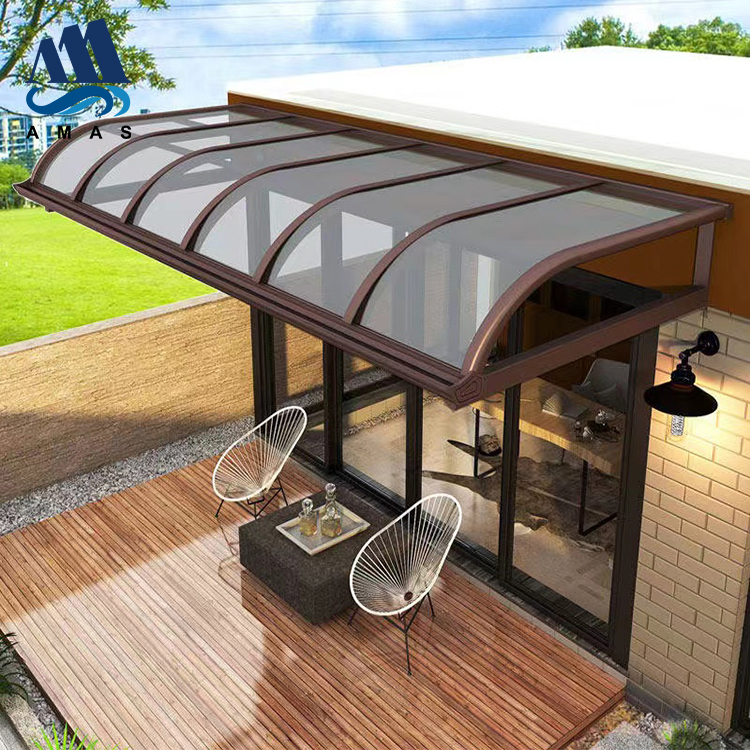
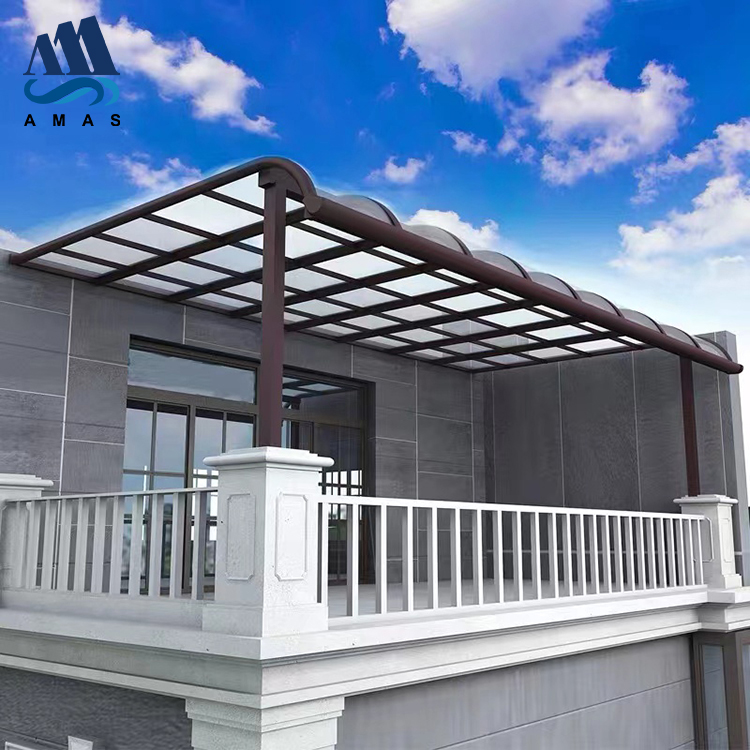
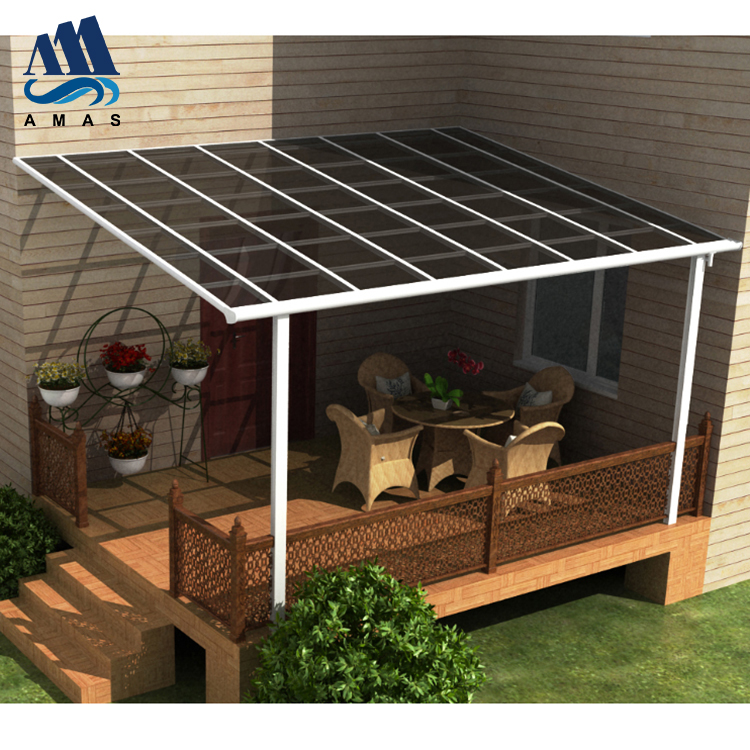
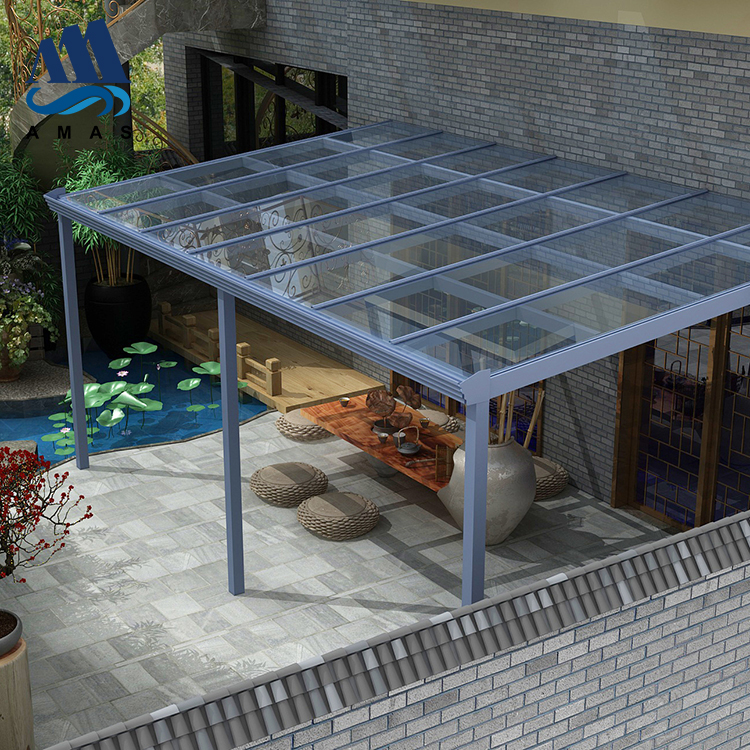
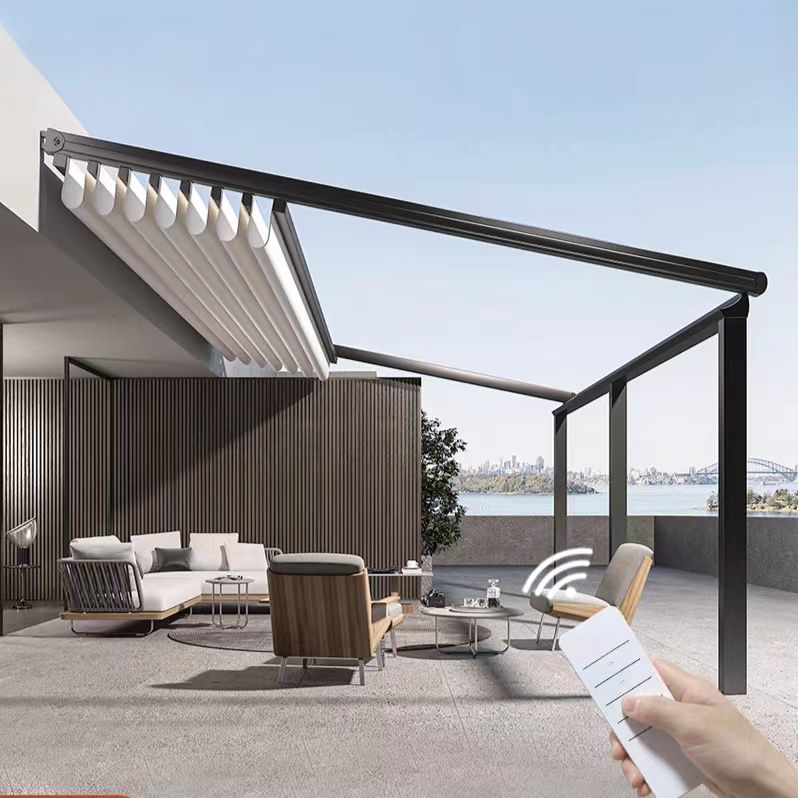
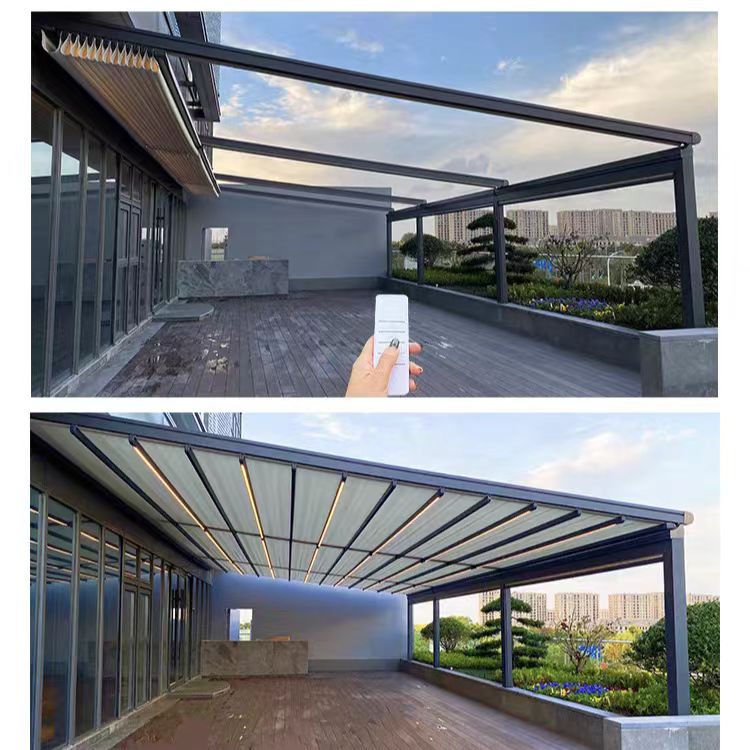
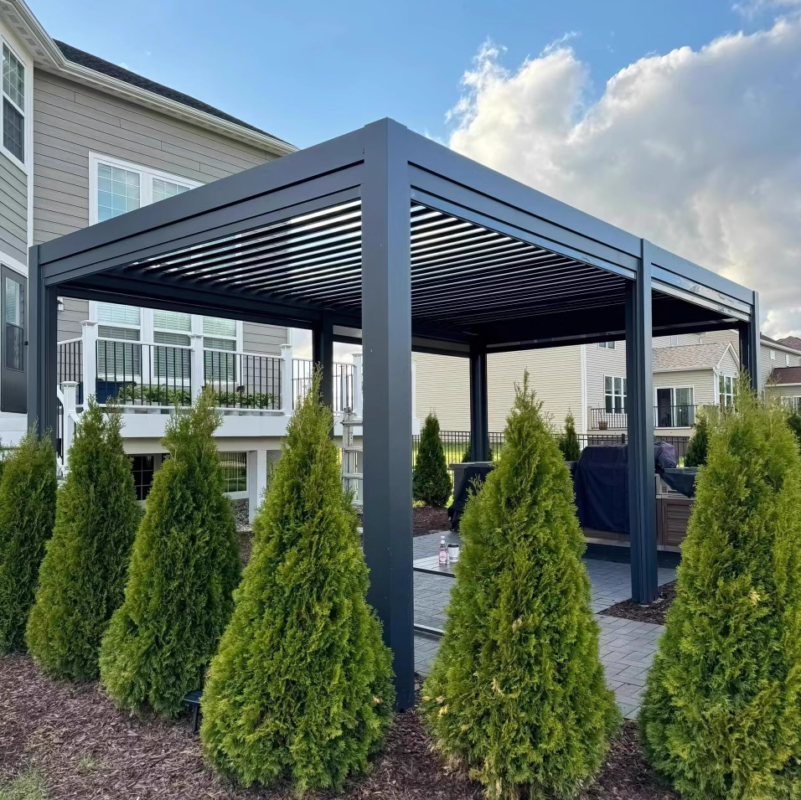
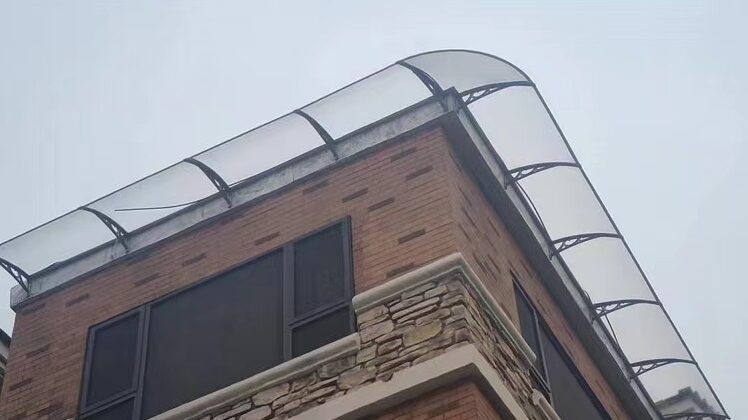
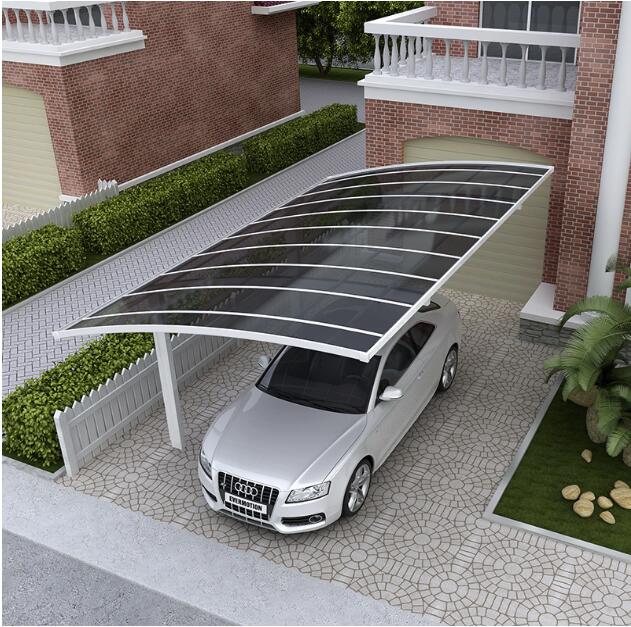
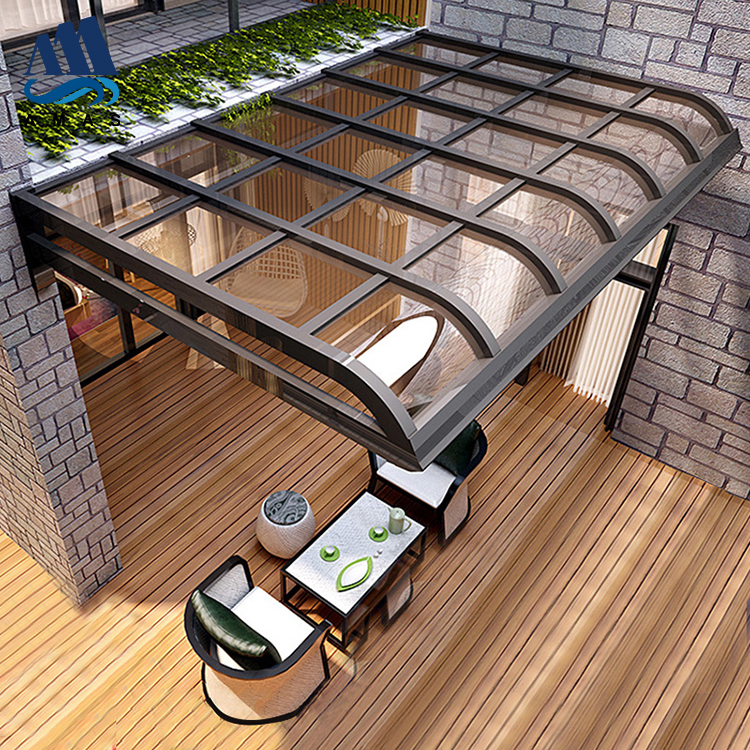
Looking for an easy and affordable way to add some extra shade to your deck or patio? Check out this DIY polycarbonate awning solution!
If you’re looking for an easy and affordable way to add some extra shade to your deck or patio, a polycarbonate awning might be the perfect solution for you. This DIY project is great for anyone looking to save money, and it can be completed in no time at all. In this blog post, we’ll go through the materials you’ll need, the steps to construct the awning, and some tips for getting the most out of your new canopy. So let’s get started and learn how to build your own polycarbonate awning!
Materials Needed
If you’re looking to add some extra shade to your outdoor space, this DIY polycarbonate awning solution is the perfect project for you! To complete the project, you’ll need the following materials:
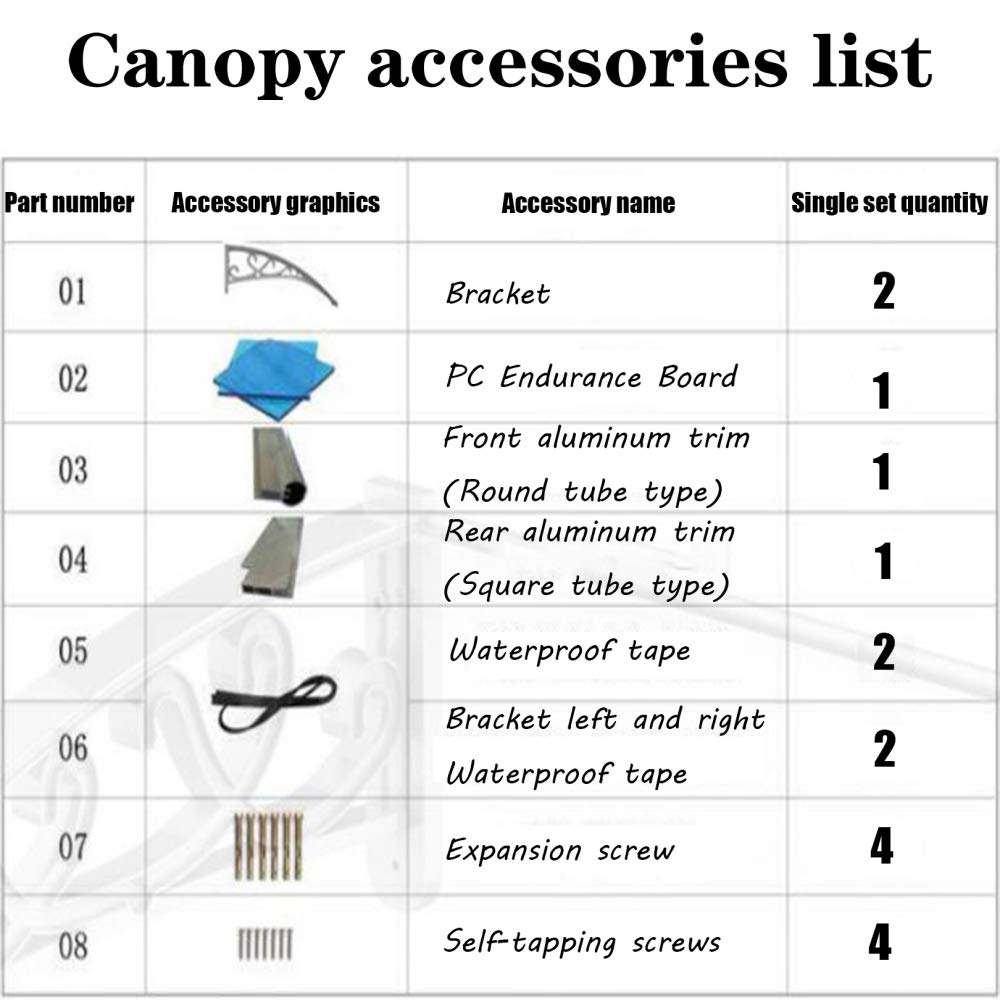
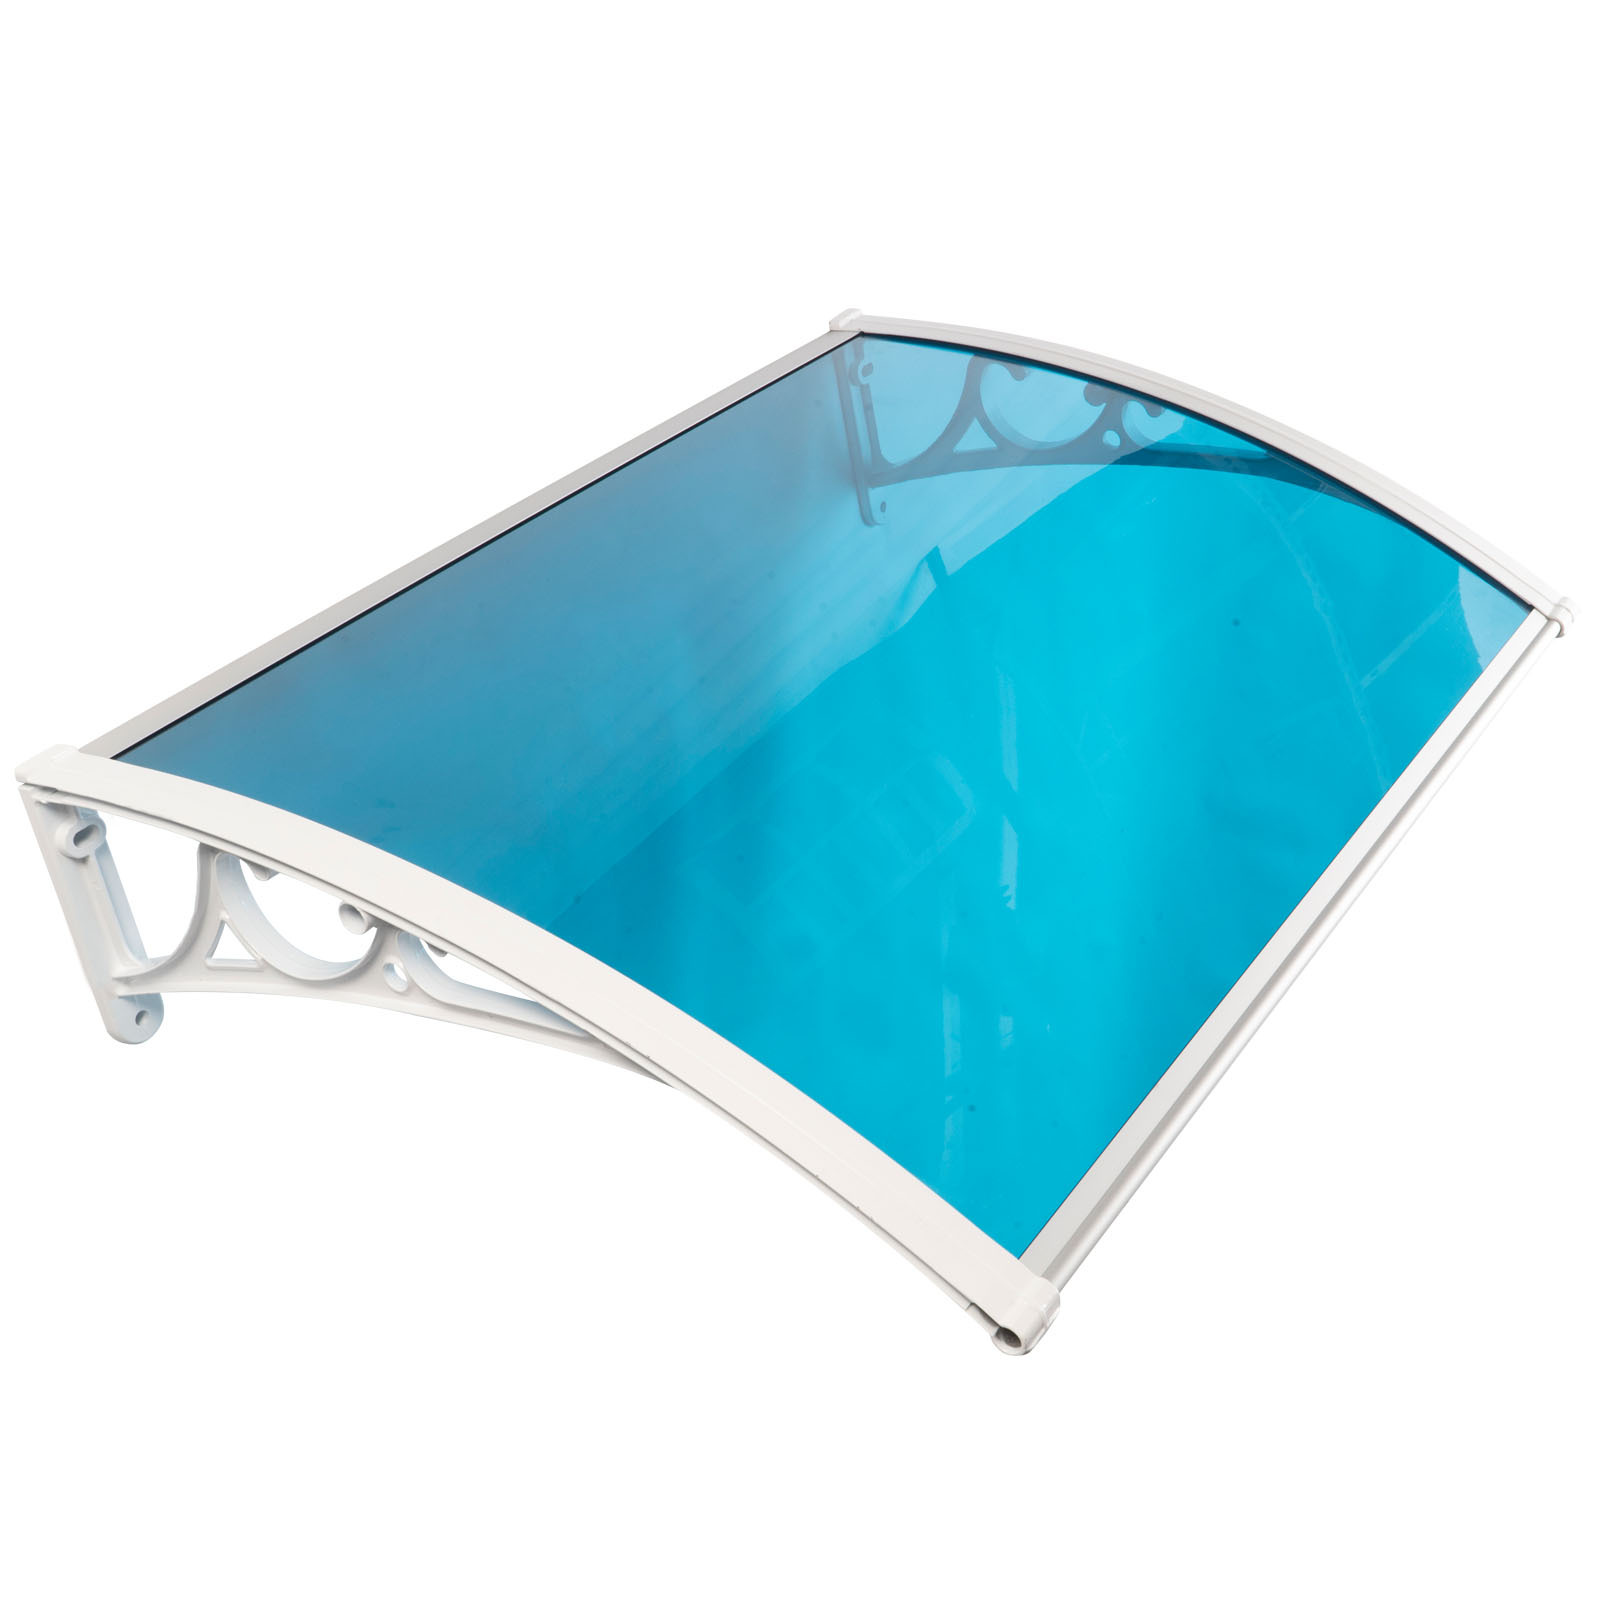
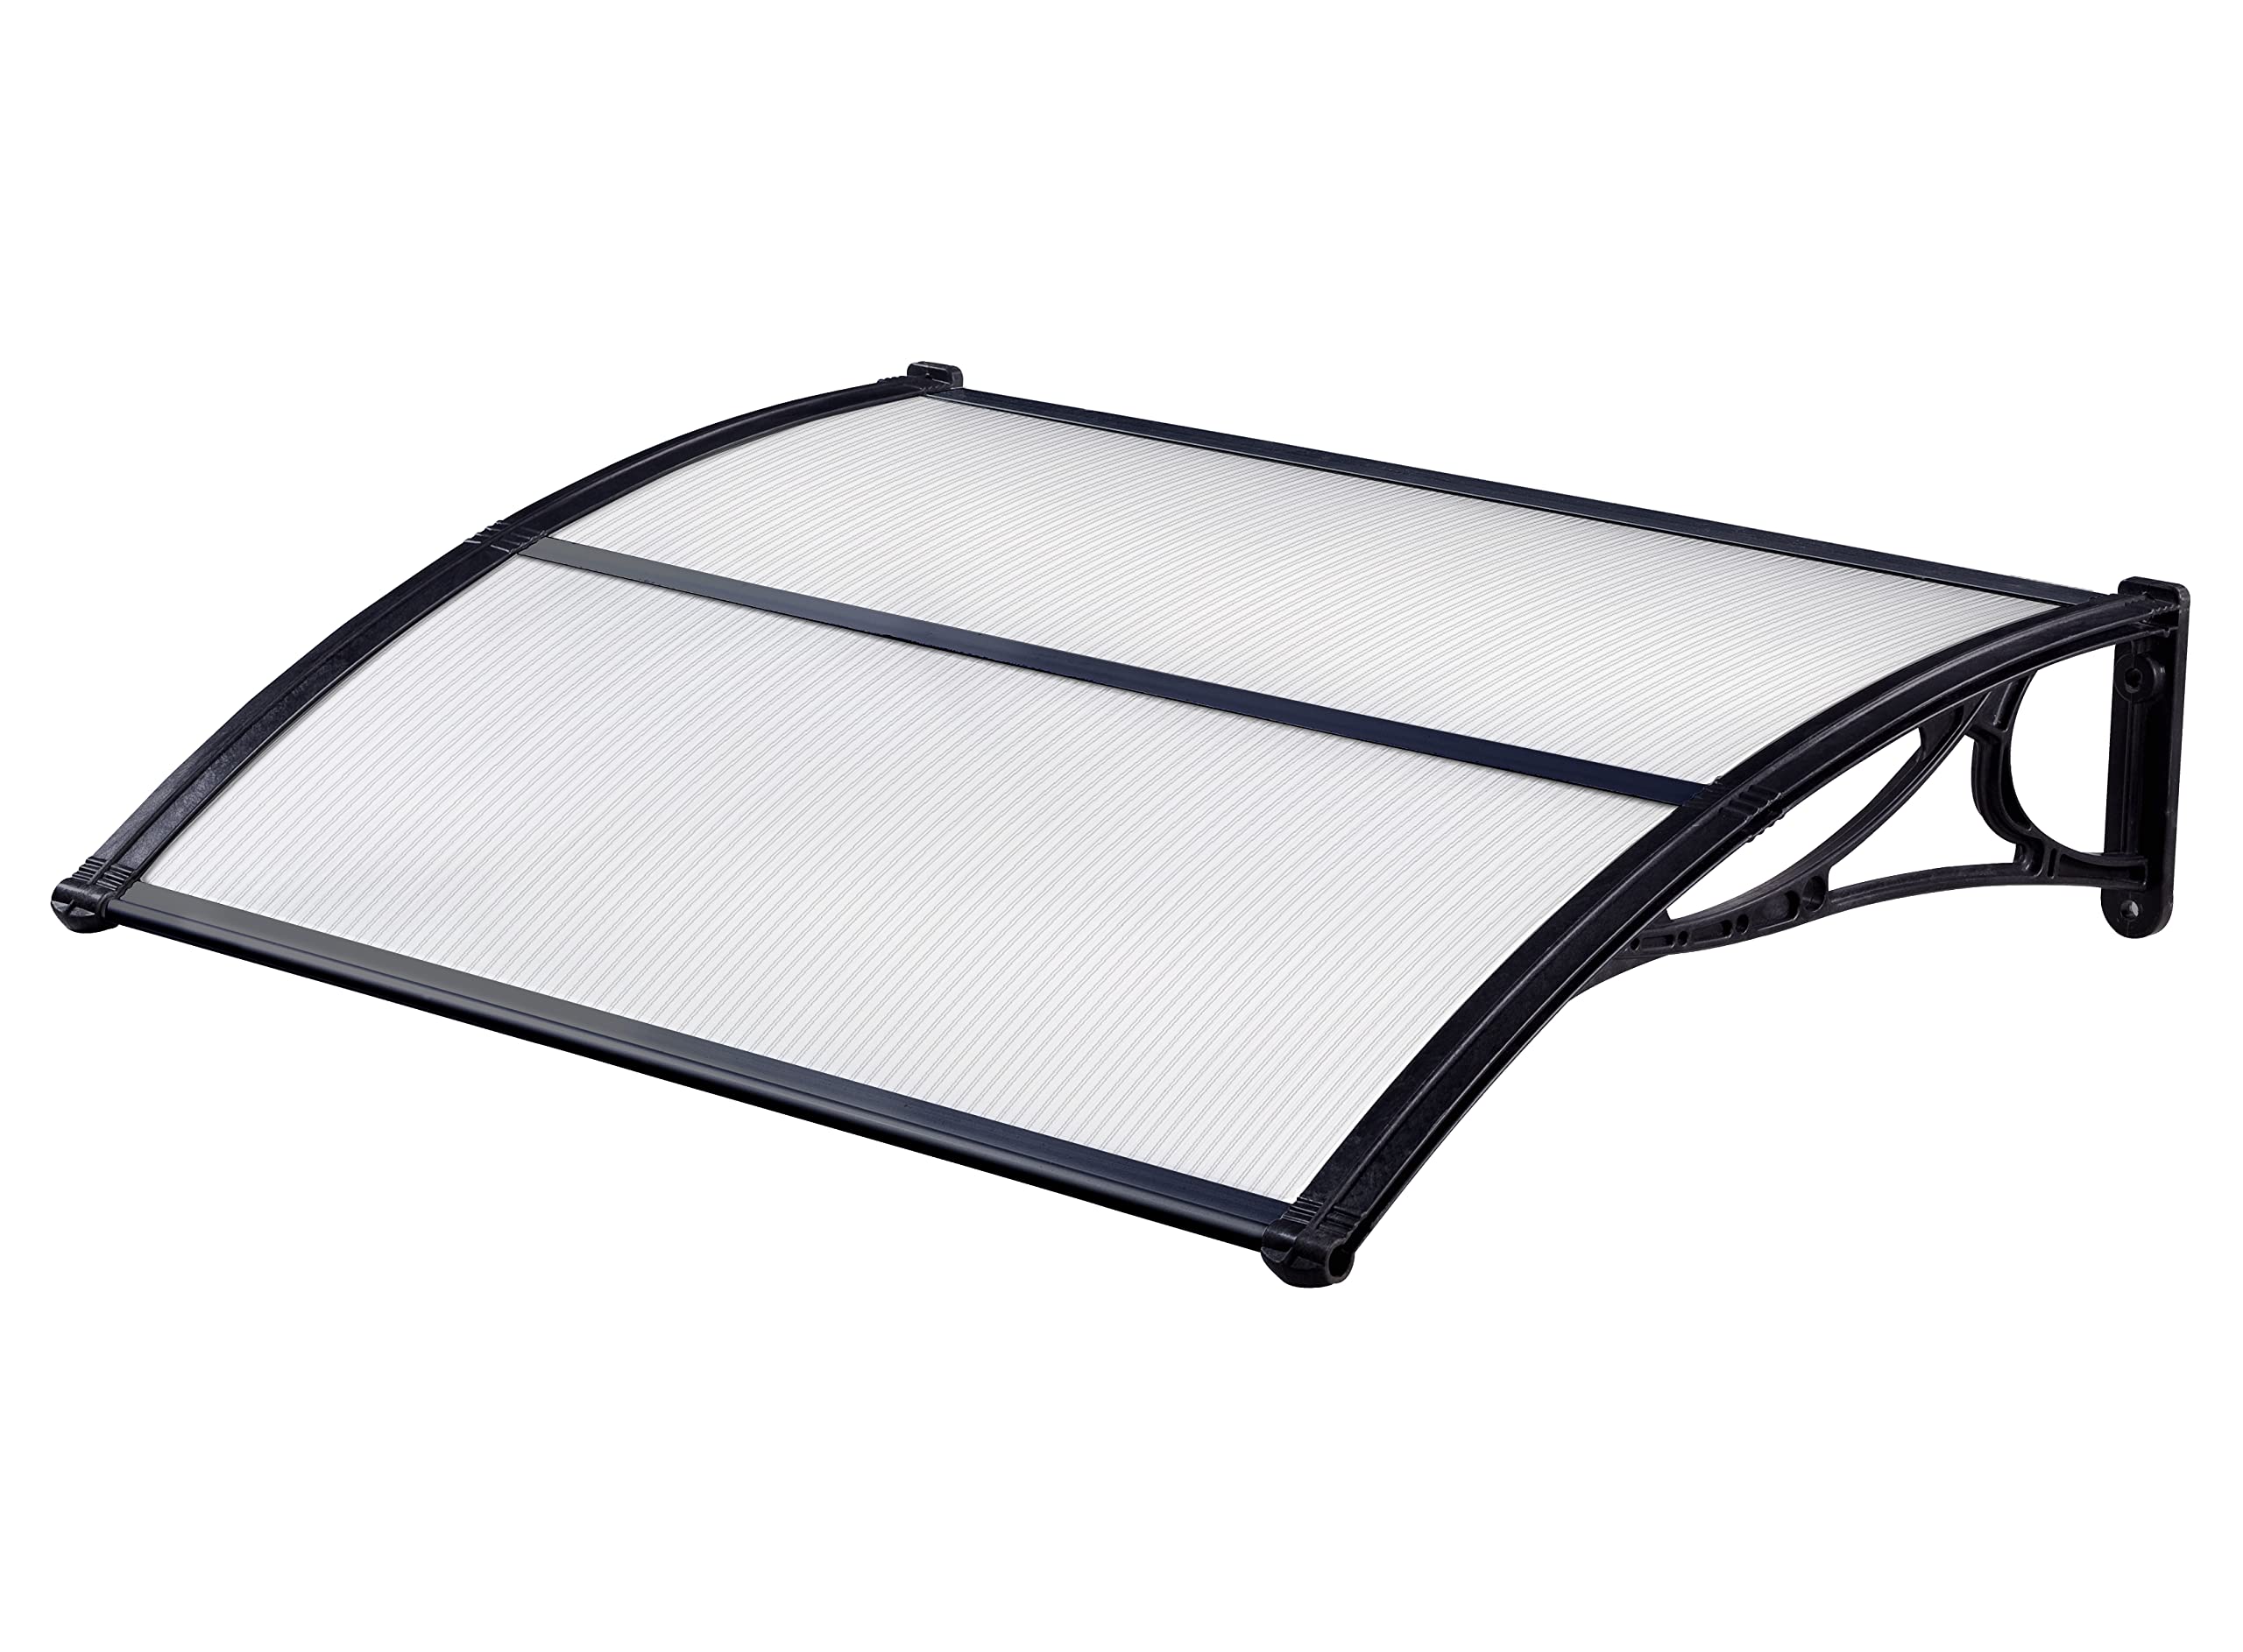
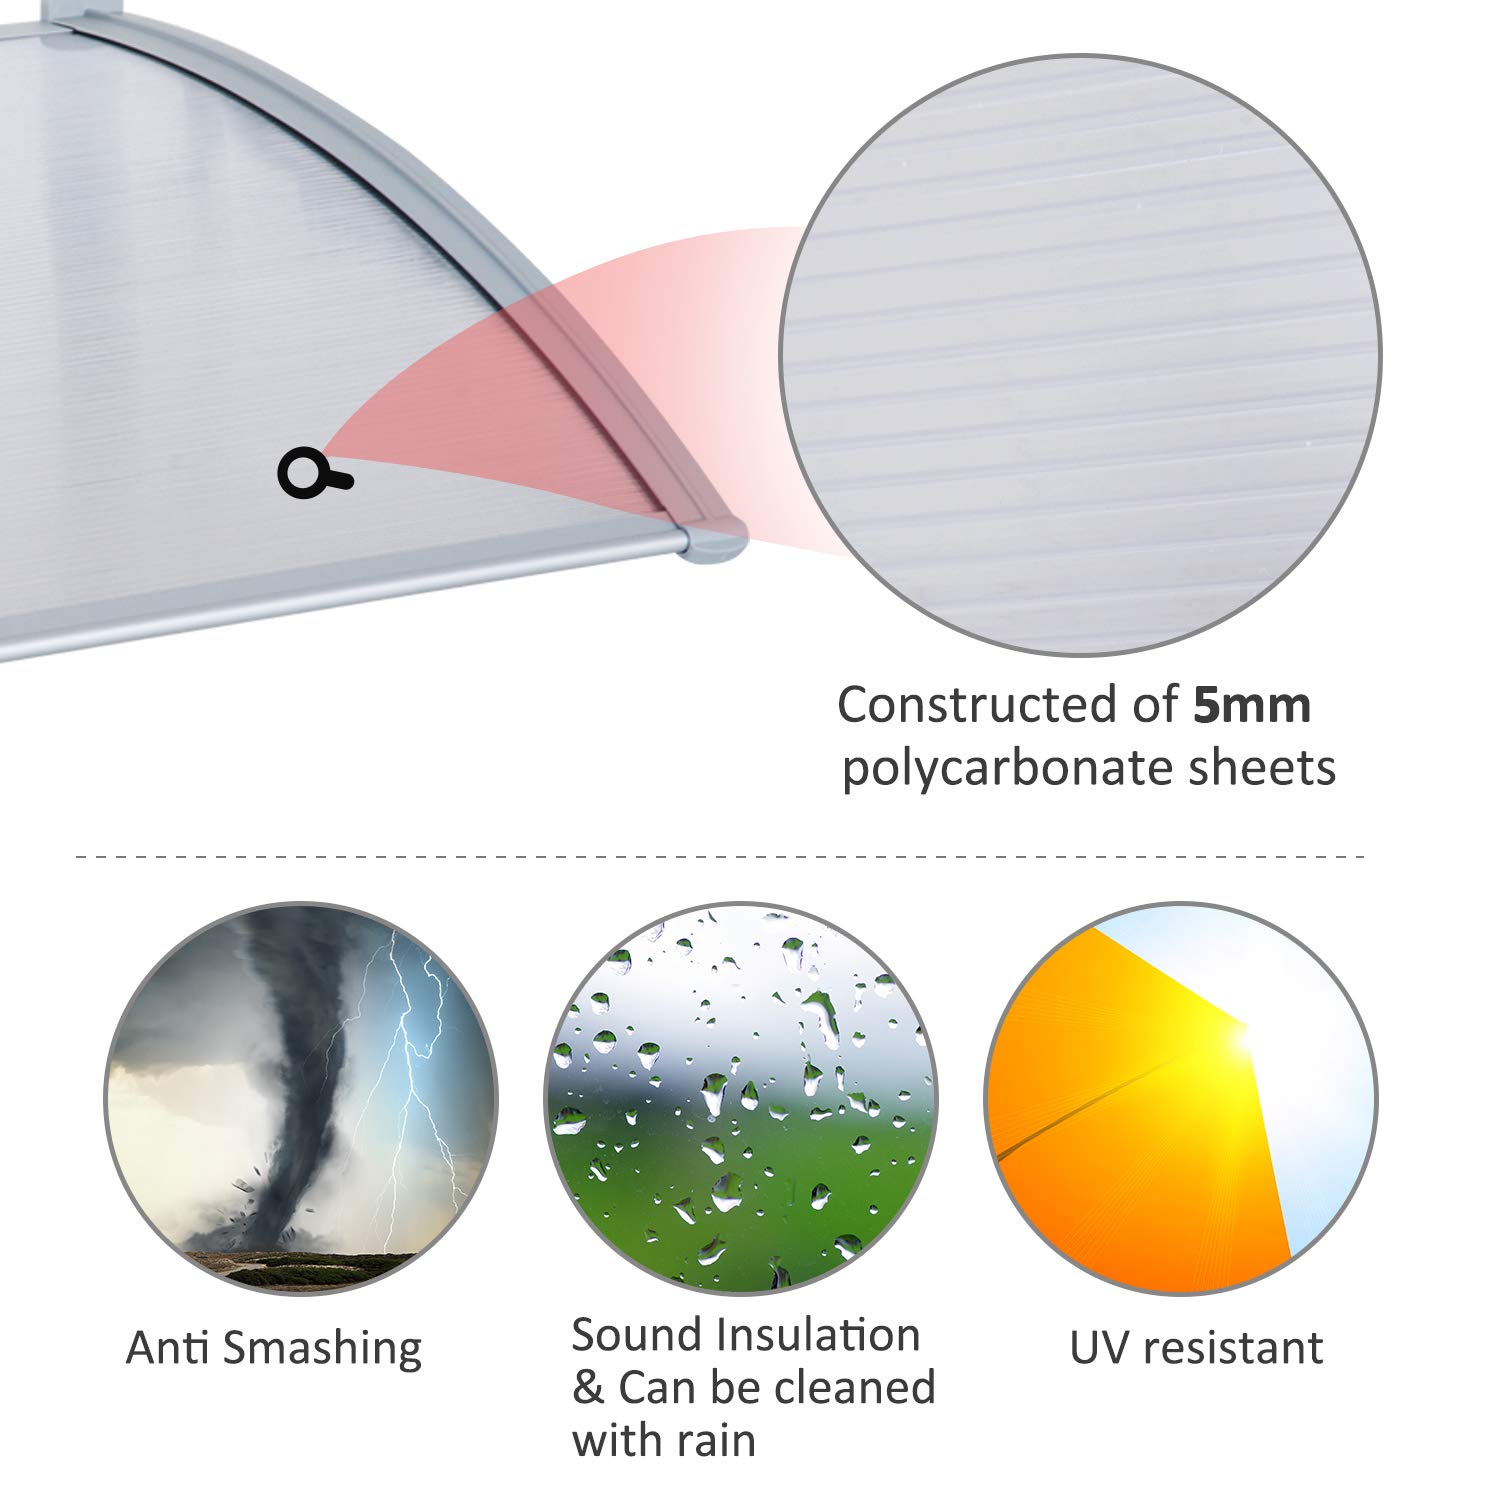
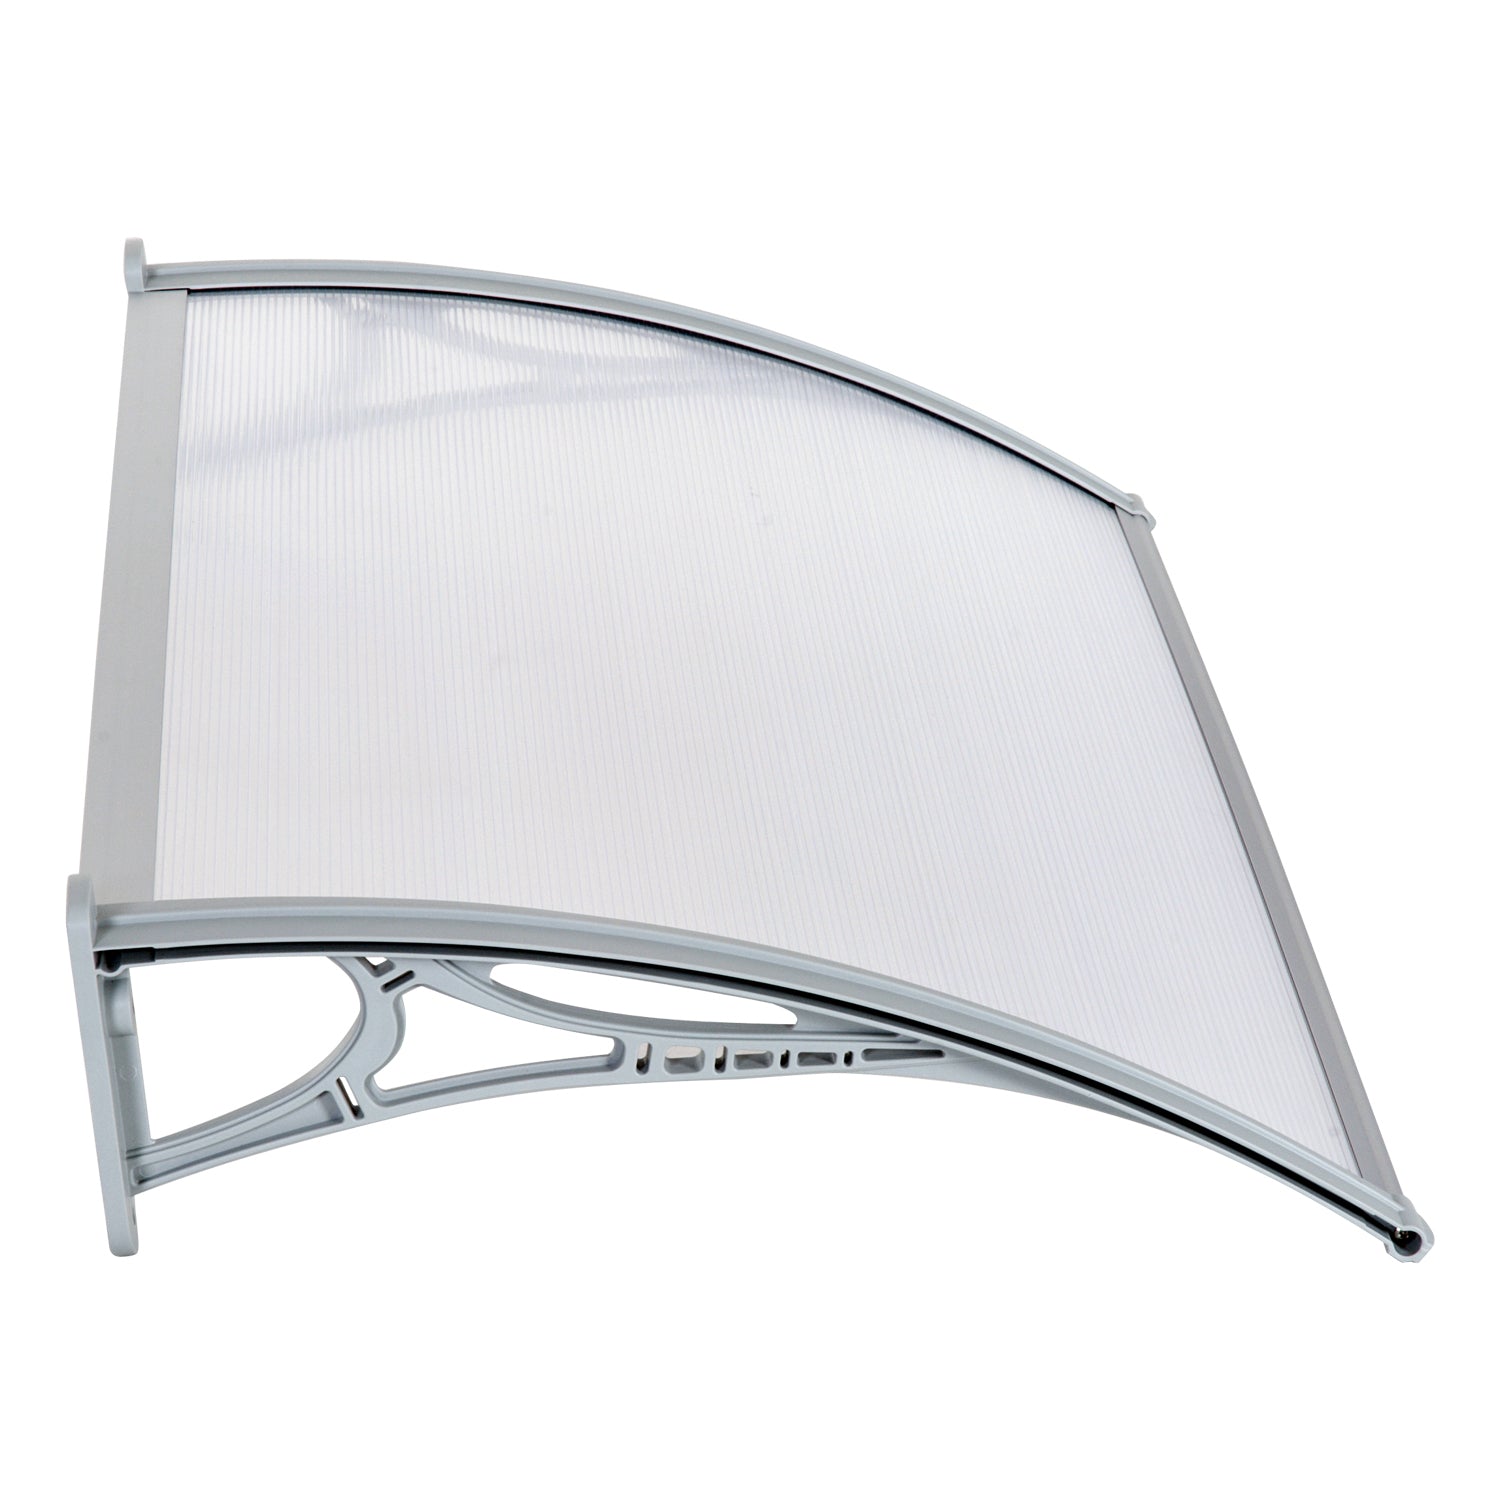
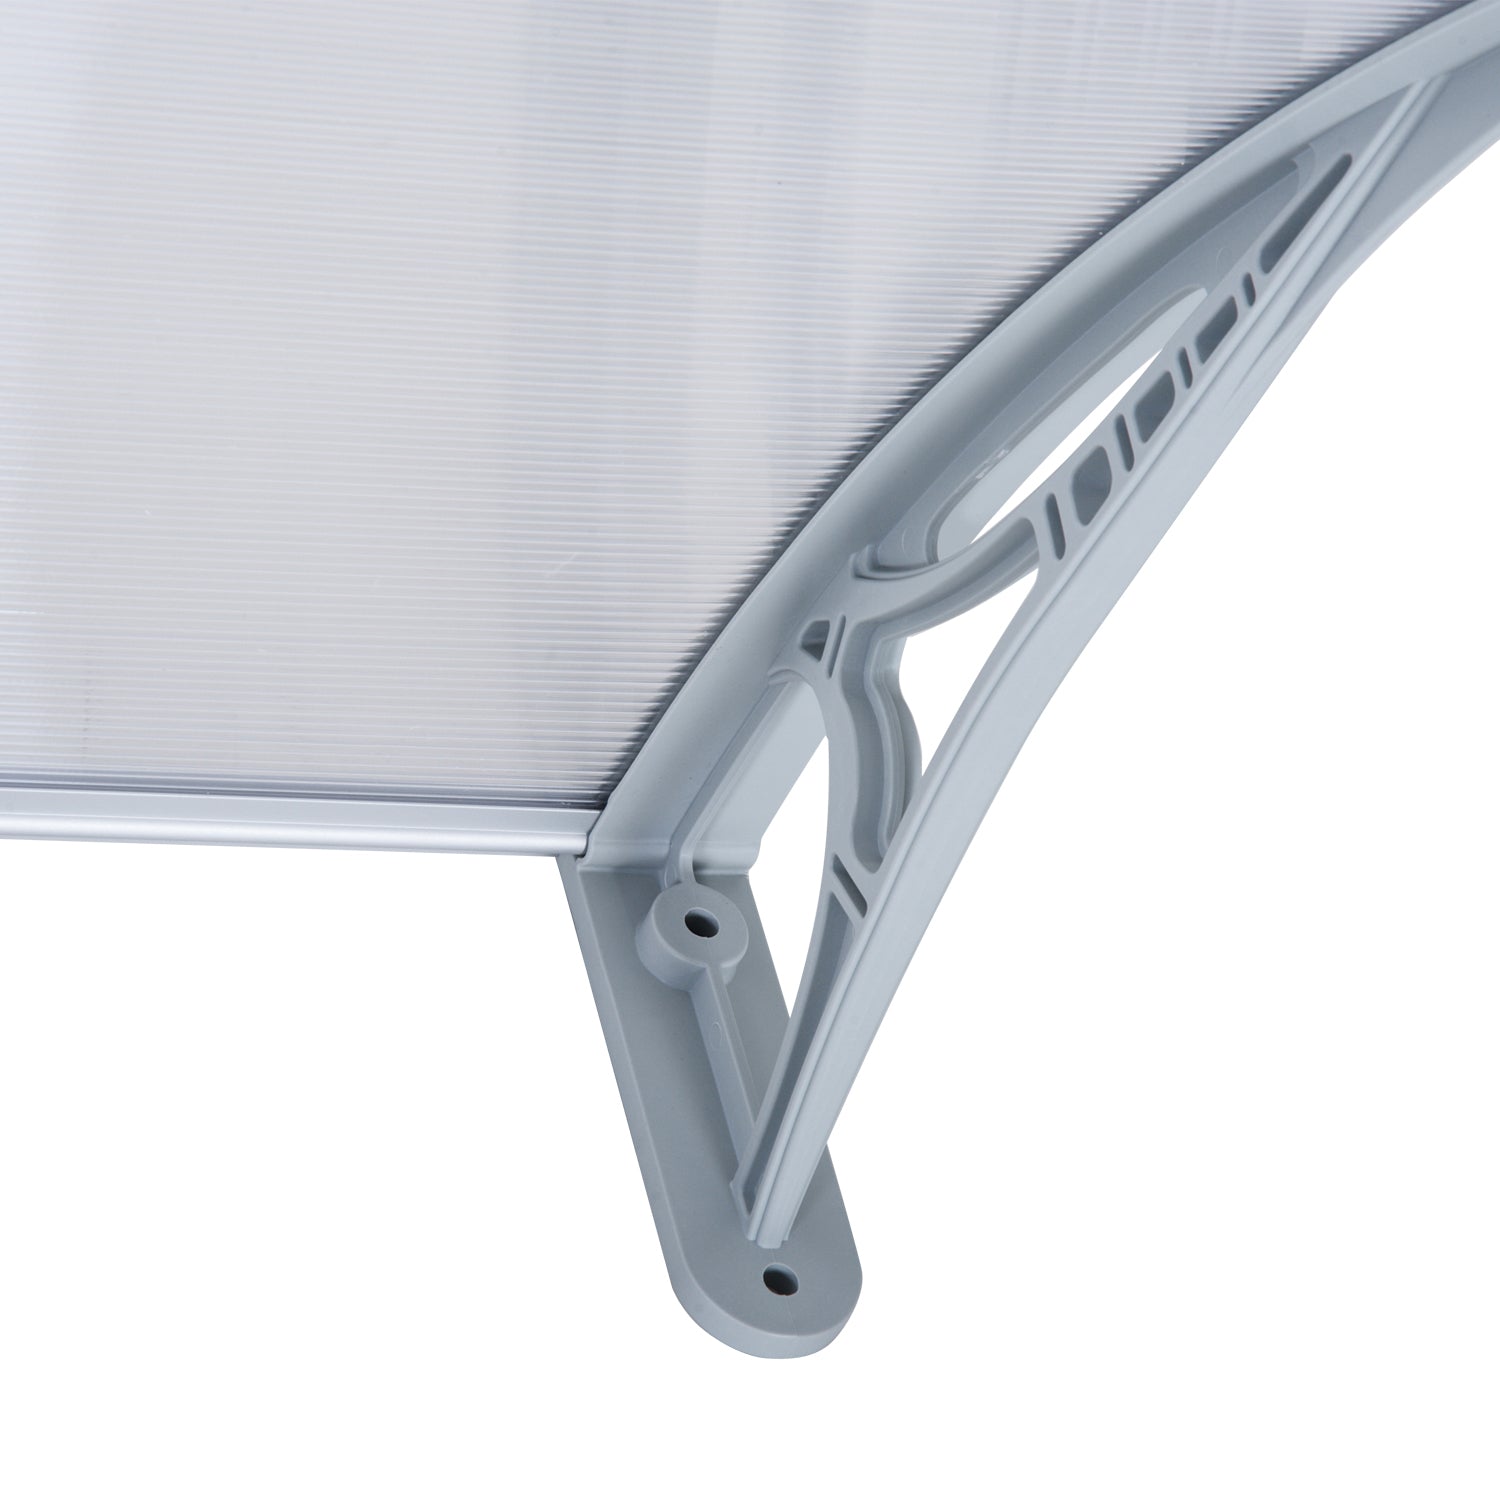
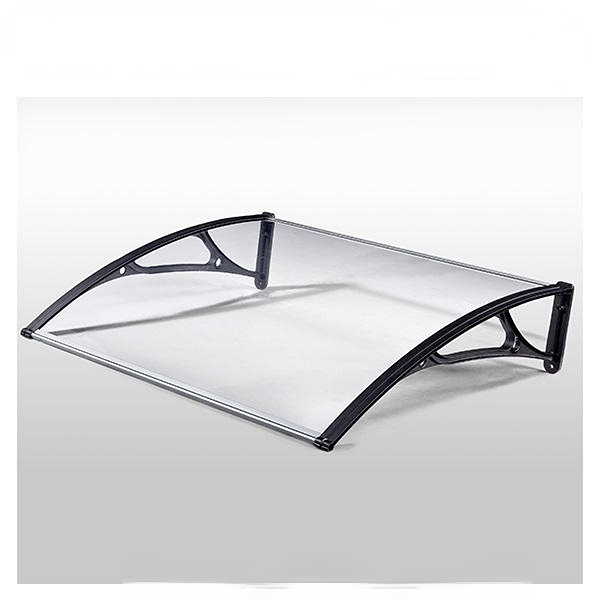
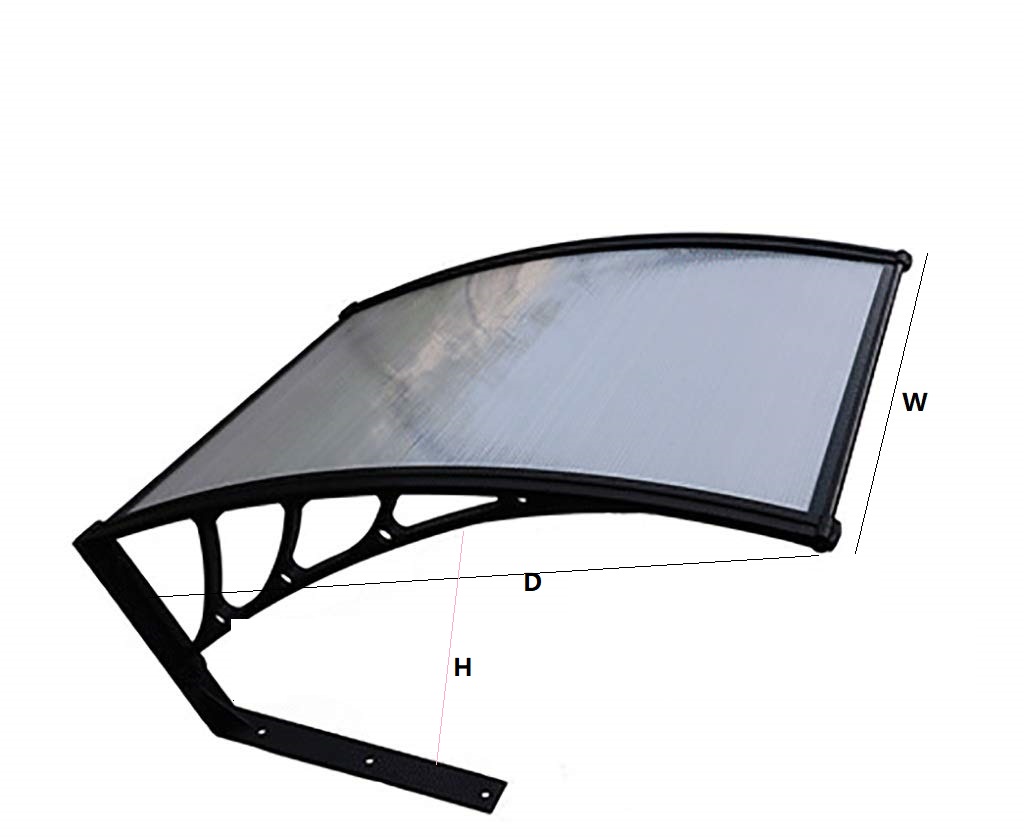
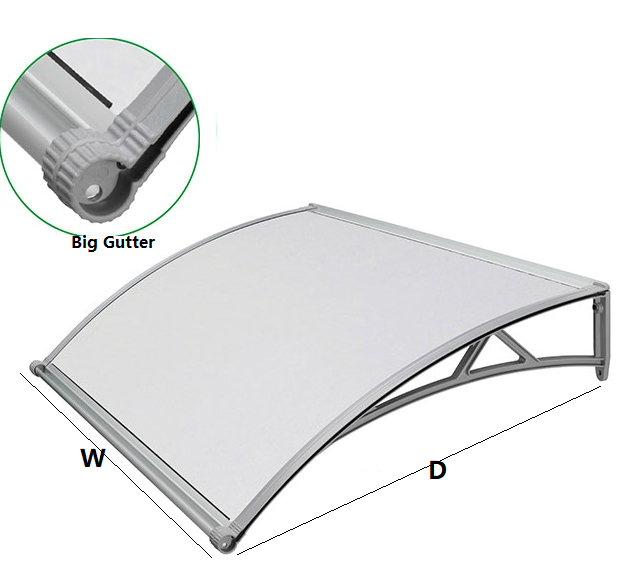
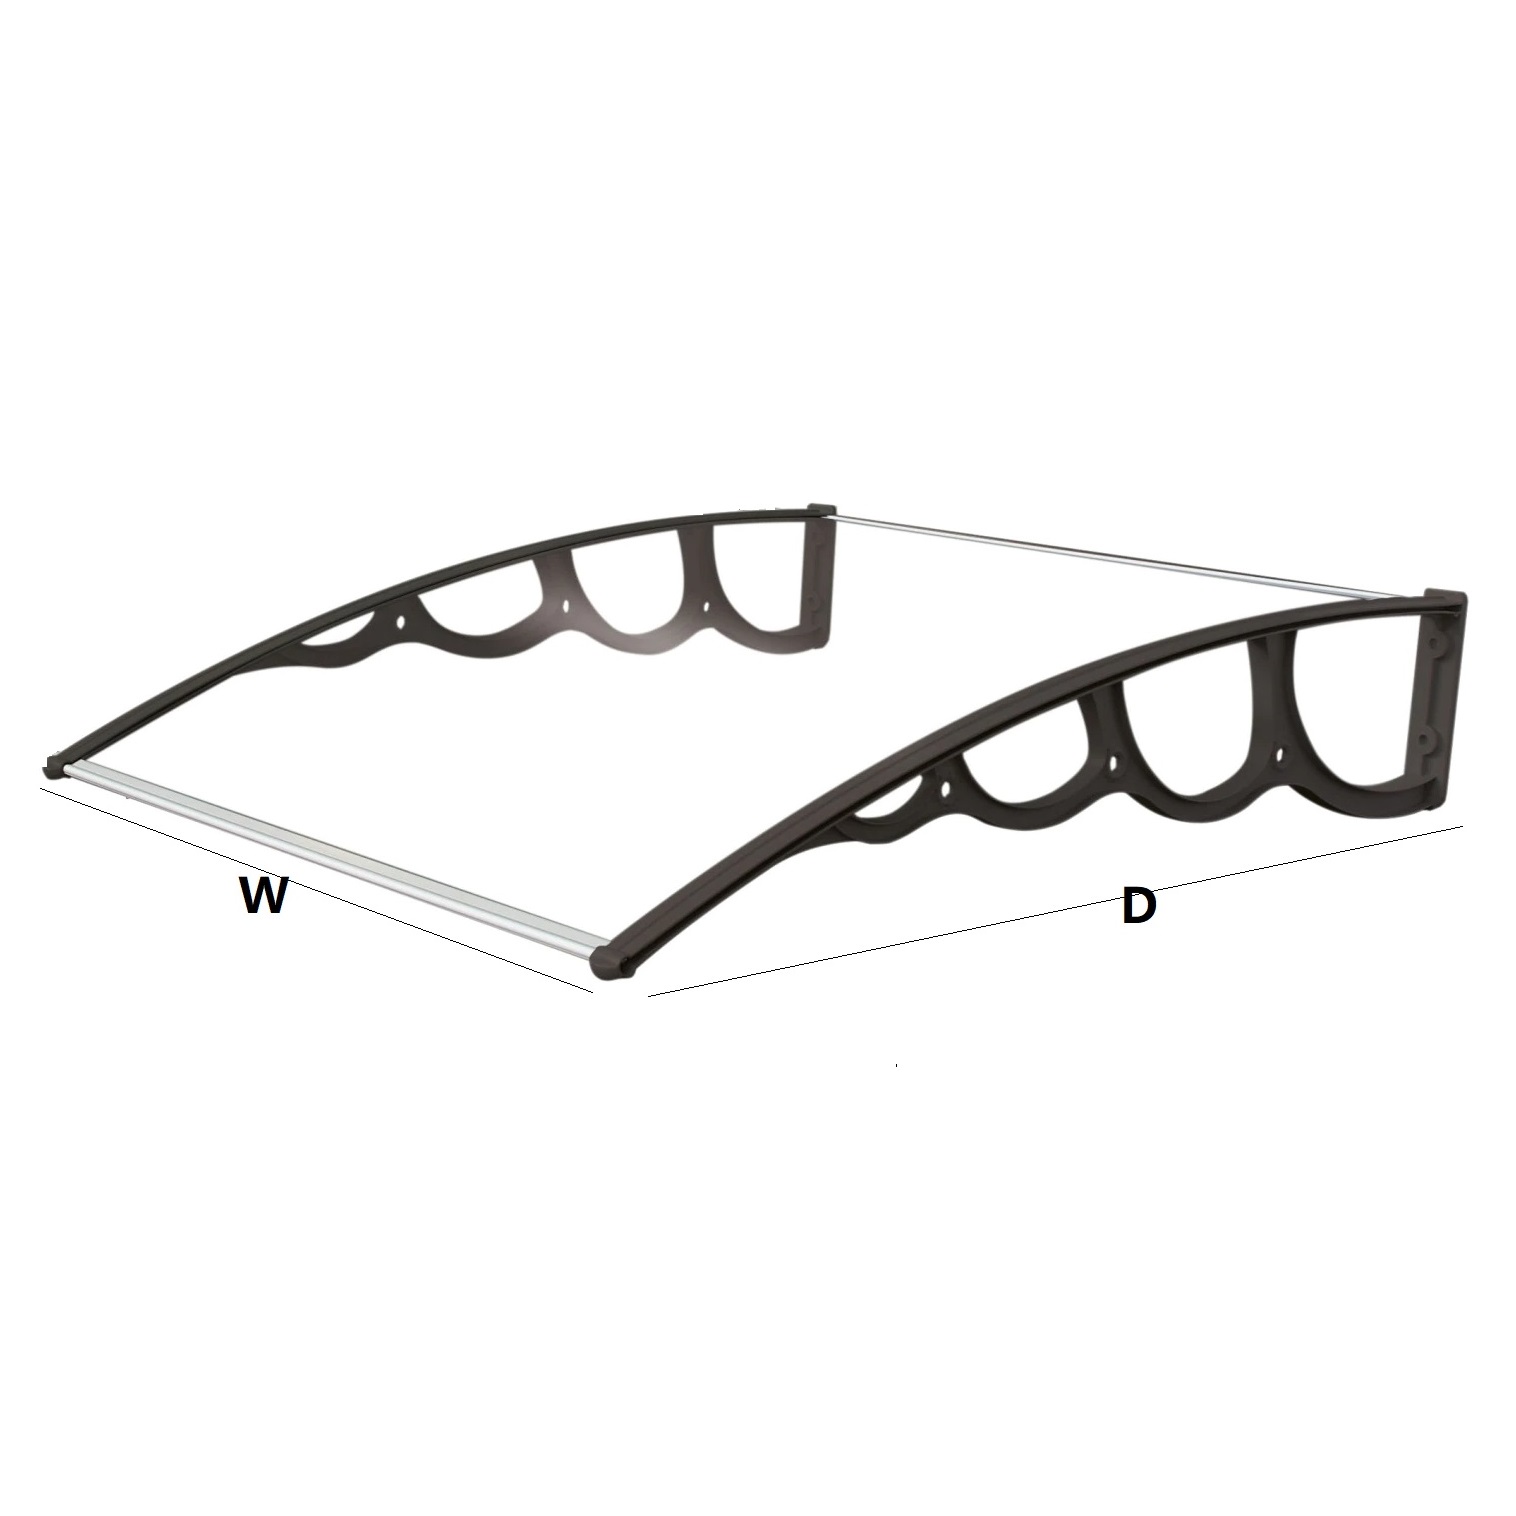
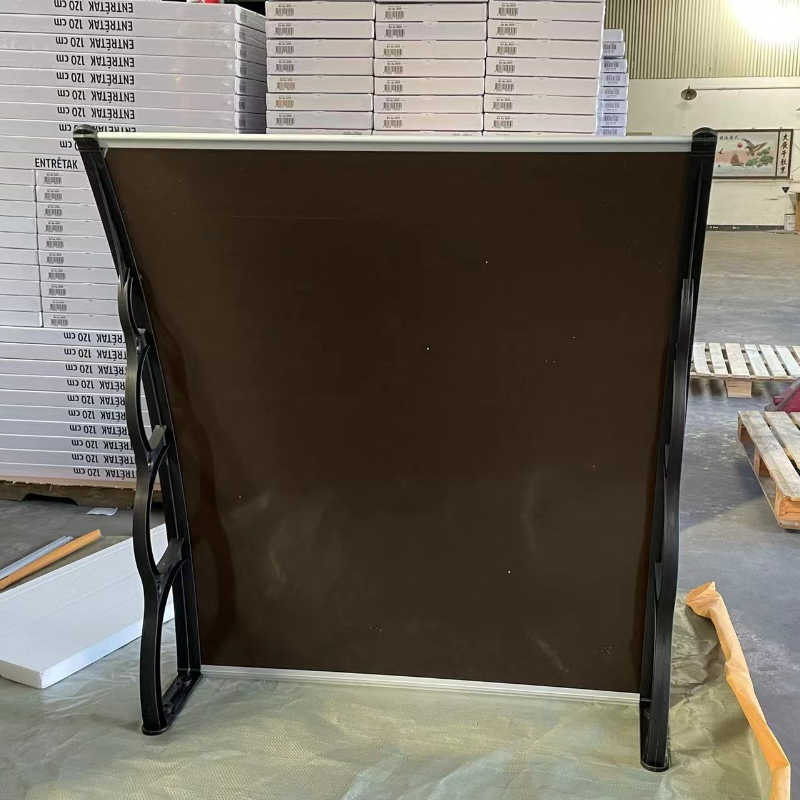
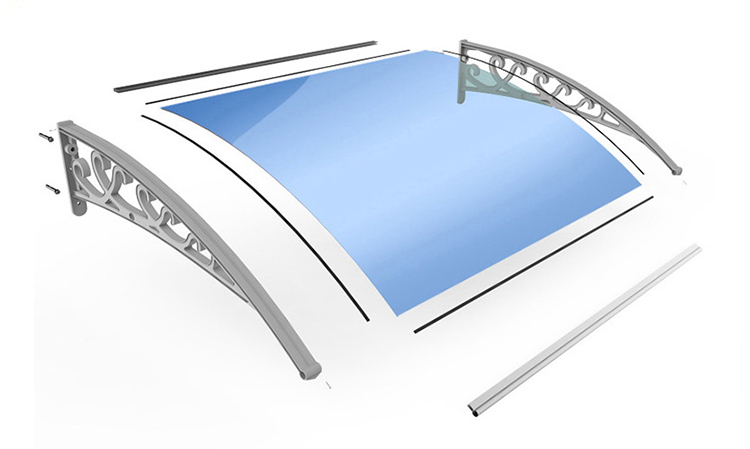
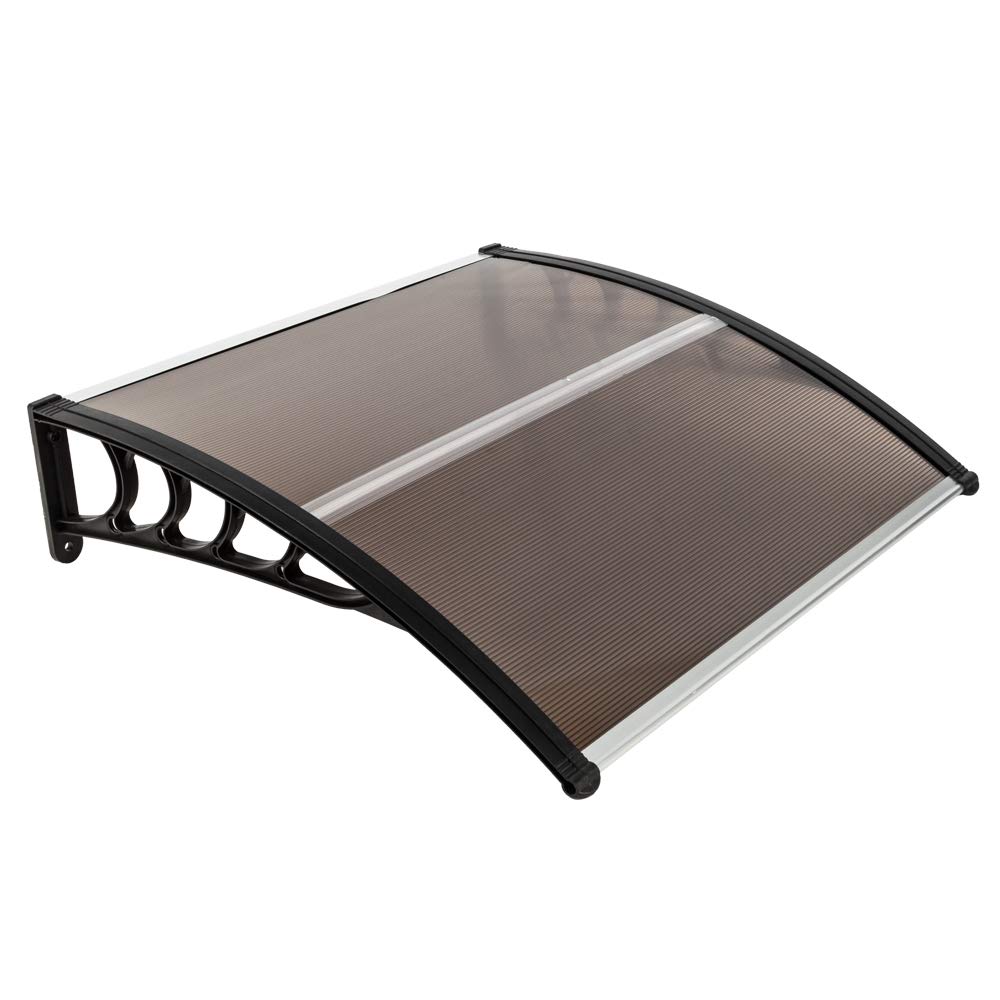
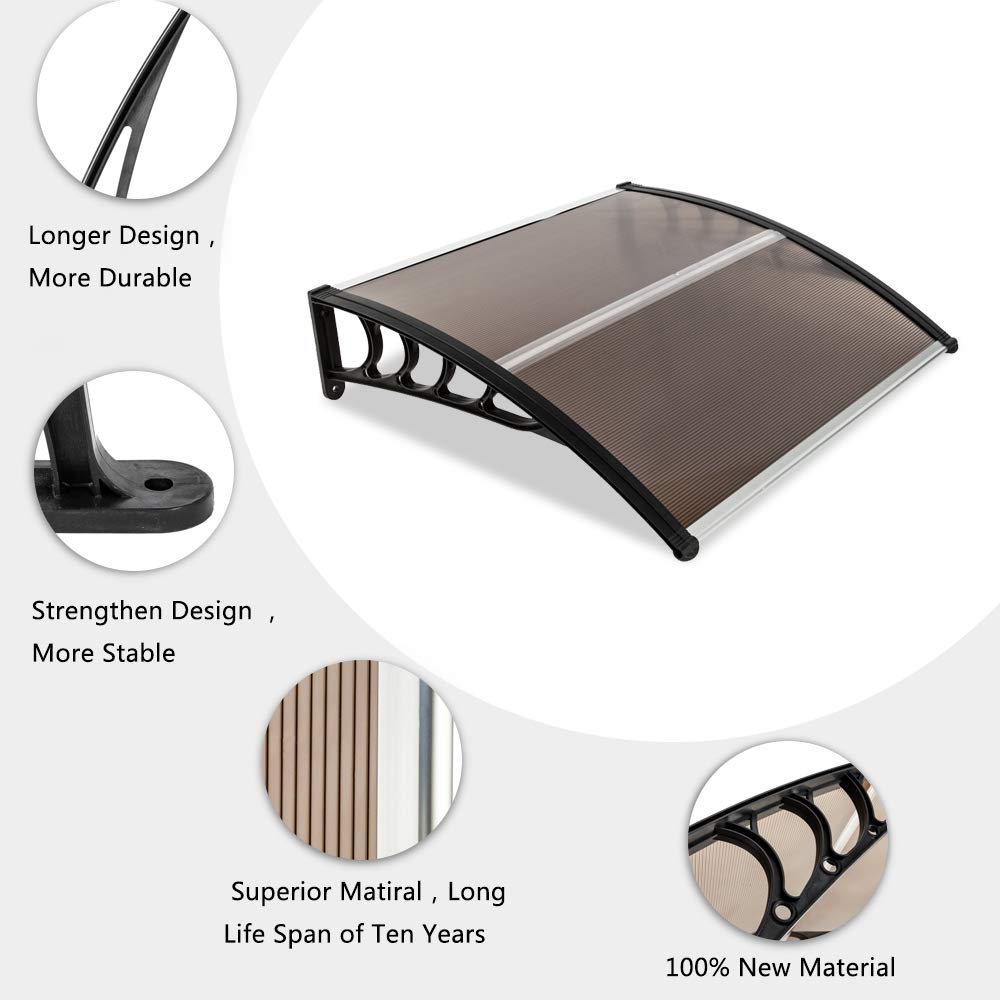
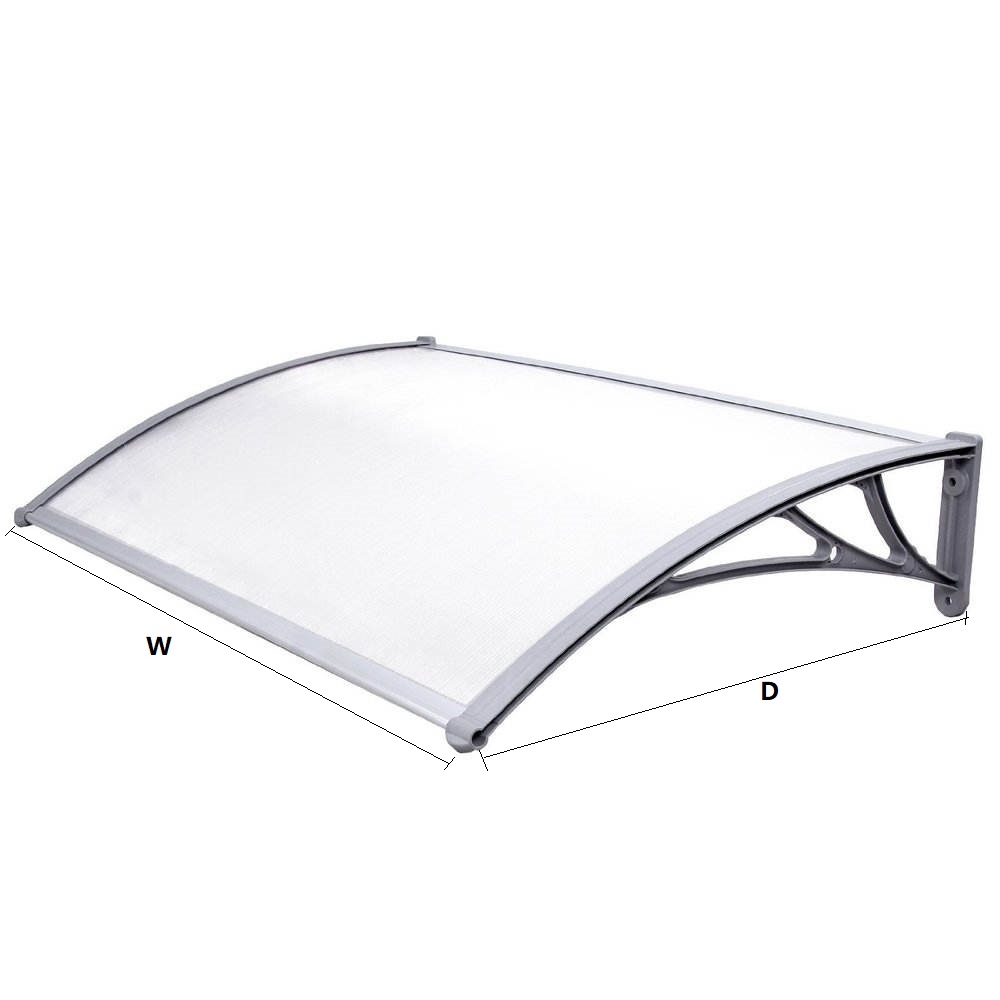
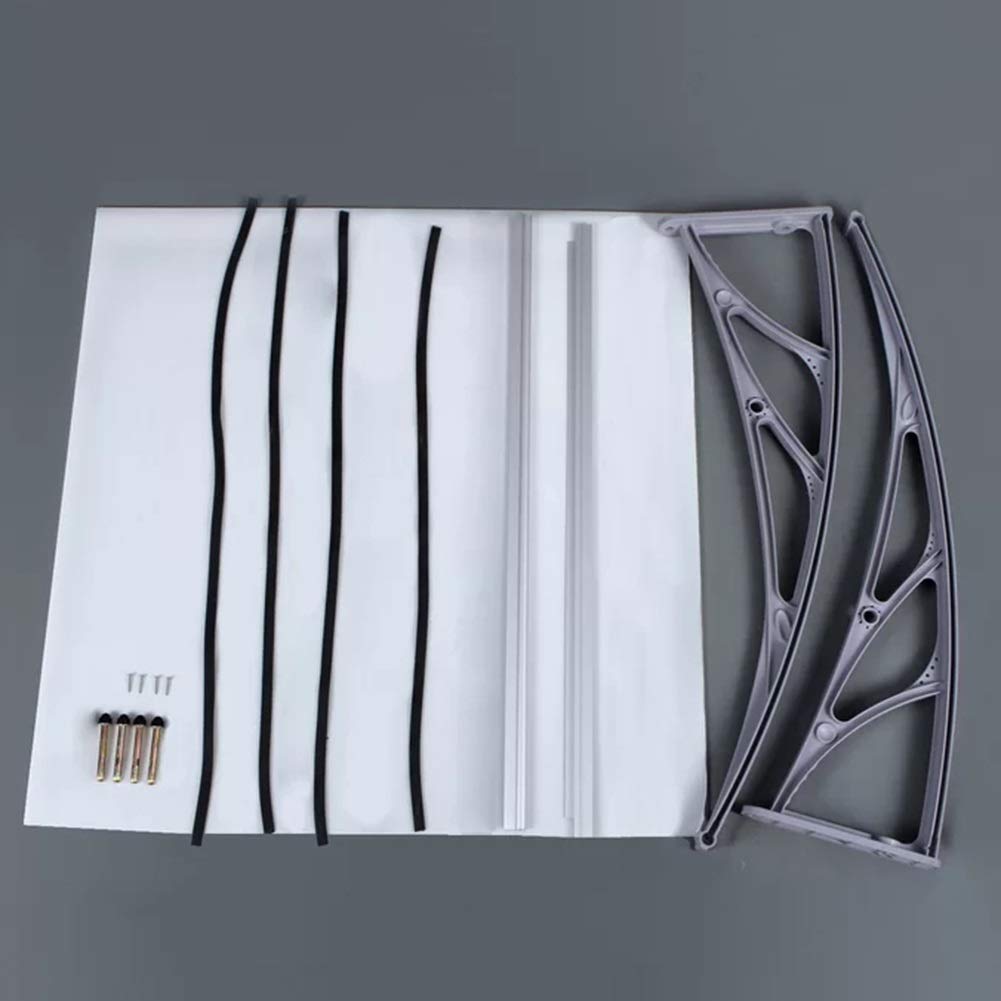
- Polycarbonate awning: A polycarbonate awning is a perfect material for this project as it is lightweight, easy to install, and incredibly durable. Make sure to measure your space beforehand and purchase an awning that will fit perfectly.
- Screwdriver: use for the fixed the screws
- Measuring tape: to make sure the exact size of the awning you need
- Drill: A drill and drill bits will be needed to attach the awning.
- Hammer: To better assemble the awning.
- Wrench: To fix the bolt when putting the bracket on the wall.
- Neutral silicone sealant: To prevent water leakage at the connection between the awning and the wall.
- Ladder: Finally, a ladder will be needed if you plan on installing your awning above your head.

Step-by-Step Instructions
Creating your own canopy can be a fun and rewarding project. Here are the steps you’ll need to take in order to build your very own DIY polycarbonate awning:
- Measure the size and take a picture of the place you want to Build an awning,and send to Amas, to get the awning material first.
- Prepare the tools which need for DIY polycarbonate awning.
- Measure and Drill the holes in the wall
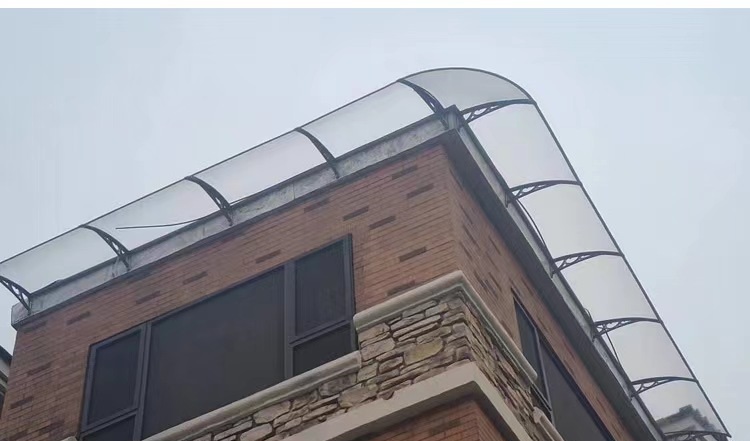
- Place one set of polycarbonate awning secure with screws and fasteners, then assemble another sheet and bracket one by one, until all is finished.
- Make sure to use Neutral silicone sealant to ensure that it’s waterproof.
- Finally, use the water to wash it, to test if it’s waterproof.
And there you have it! With a bit of hard work, you’ve now created your own DIY canopy for your deck or patio. Enjoy your extra shade!




(整套).jpg)
